 QR Poster for Engelmann Project, originally uploaded by chrisfreeland2002.
Well, I've been at it again. I had a poster to prepare for the upcoming Society for the Preservation of Natural History Collections (SPNHC) meeting in San Francisco, and got this idea of using QR codes absolutely stuck in my head, to the point where I went a little crazy trying to figure out the best way of integrating an actionable barcode into a poster that describes our work on the IMLS-funded "Digitizing Engelmann's Legacy" project. I was in New York a couple of weeks ago when the lightbulb figuratively and just a little bit literally went on after viewing two publicly displayed works:
- A giant QR code in Times Square, and
- Urs Fischer's giant bronze teddy bear / lamp sculpture featured in an upcoming sale at Christie's
Seeing the giant QR code started me thinking of what I could do with an oversized one in my poster, and Fischer's sculpture made me consider scale and the spatial relationship between viewer and object, and viewer and others around. At first I was annoyed at how people kept getting in my way when I tried to take a picture of the sculpture, but then I realized that I needed those people in the frame to give a sense of the true size of the object; without people it's just a lovable bear, with people it's a giant metal sculpture that could happily fall over and crush you.
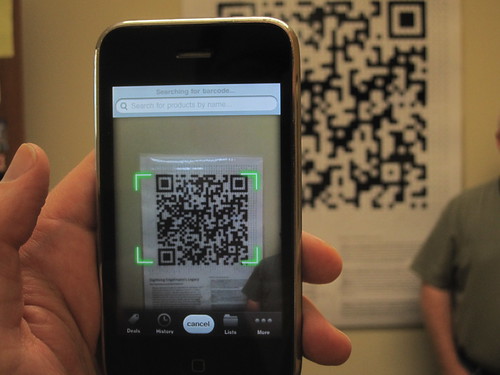
I decided I wanted to do a large QR code that links to the Engelmann web site as the main graphical element of the poster so that people needed to stand back a few feet to scan it with their smartphones. But there's also text that you have to be close to the poster to read, so a viewer needs to look at it up close as well as back a bit, which means that (hopefully) people will be interacting around the poster - getting in each others way, maybe apologizing for doing so, maybe talking, maybe not.
But then I decided I didn't want *just* a QR code - that would be boring. So, I went back to a poster I made last year and borrowed the same photomosaic technique to construct a graphical element that's a QR code from afar and a thousand tiny images up close. 2,025 images to be exact (45x45), taken from books we scanned as part of the project. So to pull it all together, I:
- Used this web site to create a QR code that when scanned, takes the viewer to the Engelmann web site. I chose this site for creating the code because it output the code as a vector image in EPS format, which I needed to scale it up poster-size.
- Used Photoshop to rasterize the QR code at 45"x45" at 300dpi in GIF format as input to the photomosaic program.
- Assembled the 1"x1" square page images with MOBOT Imaging Lab superstar Mike Blomberg's help to crop & resize the images, and corrected colors to get a set of white images and a set of black images.
- Used MacOSaiX to generate the QR mosaic. I used the GIF image from step 2 as the source and the 2,000+ images from step 3 as each tile. MacOSaiX did all the hard work of setting tiles in place & exporting out the results as a JPG.
- I then took that JPG & dropped it into a PowerPoint document sized 36"x48" I was planning to print the poster at 48" wide, and would have then used the 45" wide mosaic without scaling, but my friendly FedEx Office outpost was running a sale on 36" posters, so I scaled the QR mosaic to fit & saved more than $50!
This took me weeks to mull over & brainstorm & figure out, and only about 4-6 hours of people effort to actually complete. Here's a link to the finished poster:
I'm pleased with it, and hope you think it's cool, too! Stop by & see the poster (and me!) if you're at SPNHC in San Francisco 23-28 May.